KTA’s Certified Coating Inspector Forum Volume 2, Issue No. 3 – March 2023
KTA’s Certified Coating Inspector Forum is designed to provide professional development/continuing education on standards, inspection practices, new instruments, and other topics to help keep certified AMPP and FROSIO coating inspectors current. It represents the views of the author and KTA-Tator, Inc. It may or may not represent the views of AMPP: The Association for Materials Protection & Performance, even though SSPC, NACE, and AMPP standards are frequently referenced in the content.
Introduction
The AMPP CIP Level 2 Coating Inspector Training Program curriculum addresses the three most common types of hardness testing instruments: Barcol, Durometer, and Pencil Hardness. The Barcol hardness tester (also known as indentation or impressor hardness) is primarily used for evaluating the hardness of rigid materials such as nonreinforced rigid plastics and fiberglass reinforced plastic (FRP), not coatings. This issue of the KTA Certified Coating Inspector Forum explores why the hardness of a coating or lining system is important to measure and describes the two most common field methods for testing the hardness of an applied coating: Pencil Hardness and Durometer Hardness.
Why Coating/Lining Hardness is Important
The hardness of an installed coating or lining is an indication of its degree of cure and its inherent ability to perform as desired. If a coating is too soft, it may become damaged in service, exposing the underlying substrate. A coating that is supposed to be hard but remains soft may be an indication that the solvents have not yet fully evaporated from the film and/or the cure or polymerization (cross-linking) is incomplete. Hardness testing of newly coated cutbacks at pipe joints is often performed prior to burying pipe, to reduce the chance of coating damage during the backfilling process. Solvent rub is another method for gauging the cure of a coating or lining, but it is outside the scope of this forum.
The hardness of thin film coatings can be performed according to ASTM D3363, Standard Test Method for Film Hardness by Pencil Test to prevent the substrate from influencing the result. Thicker coatings are typically measured using an indentor-type tester such as a Durometer (ASTM D2240, Standard Test Method for Rubber Property – Durometer Hardness), which measures the resistance to indentation under a specific spring force load. The project specification should indicate the appropriate type of hardness testing (Pencil or Durometer) and the minimum acceptable hardness value prior to placing the coating system into service. The test method and minimum acceptable hardness value are often established by the manufacturer of the coating/lining.
Pencil Hardness
Pencils containing 14 different hardness’ of lead (shown in Figure 1) are prepared in a specific manner (described below), then used to attempt to scratch or gouge the coating. The coating’s inherent resistance to scratch or gouge damage is an indication of its hardness. Note that prior to conducting the testing it is important to clarify whether scratch or gouge hardness is to be determined. The coating manufacturer may be able to provide clarity.
Figure 1 – ASTM D3363 Pencil Hardness Scale
| 6B | 5B | 4B | 3B | 2B | B | HB | F | H | 2H | 3H | 4H | 5H | 6H |
Soft
Medium
Hard
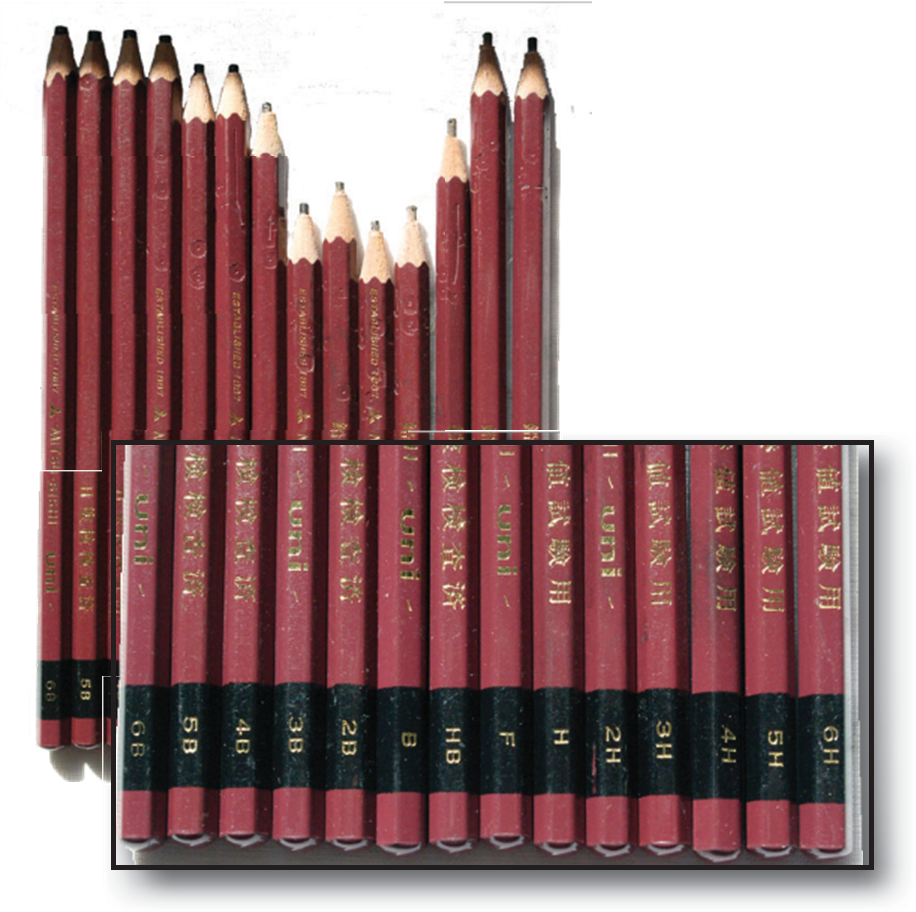
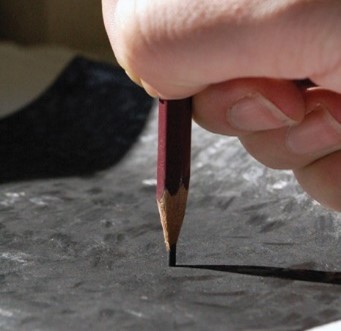
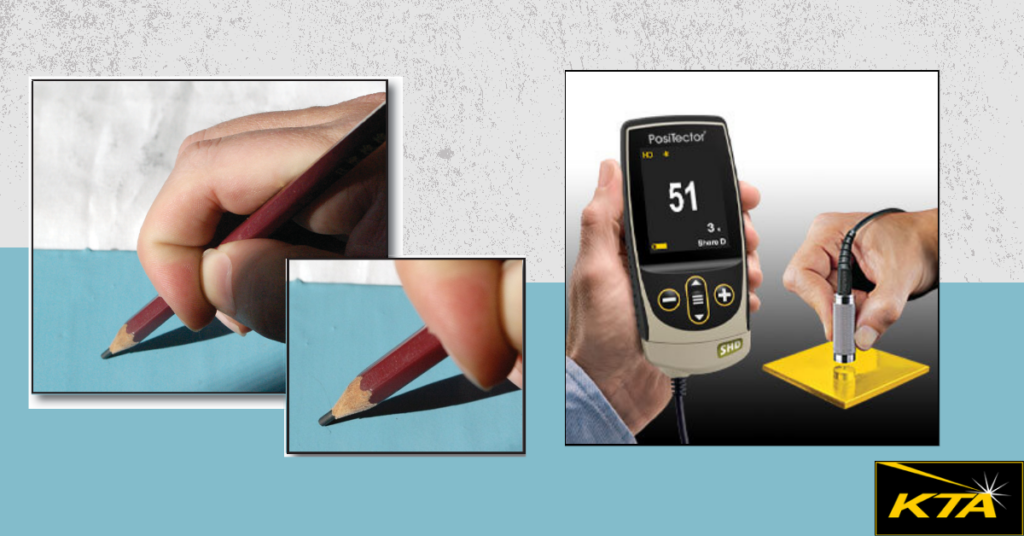
To conduct pencil hardness, a series of 14 pencils containing various hardness’ of lead from 6B to 6H (see Figure 2), a mechanical pencil sharpener, and a piece of emery cloth or extra fine sandpaper are required. After sharpening a pencil in the anticipated hardness range of the coating, blunt the tip of the lead to create a cylinder (rather than a point) by rubbing it perpendicular to the sandpaper or emery cloth (Figure 3). If the expected hardness is not known, start with a pencil near the middle of the scale (e.g., “F”).
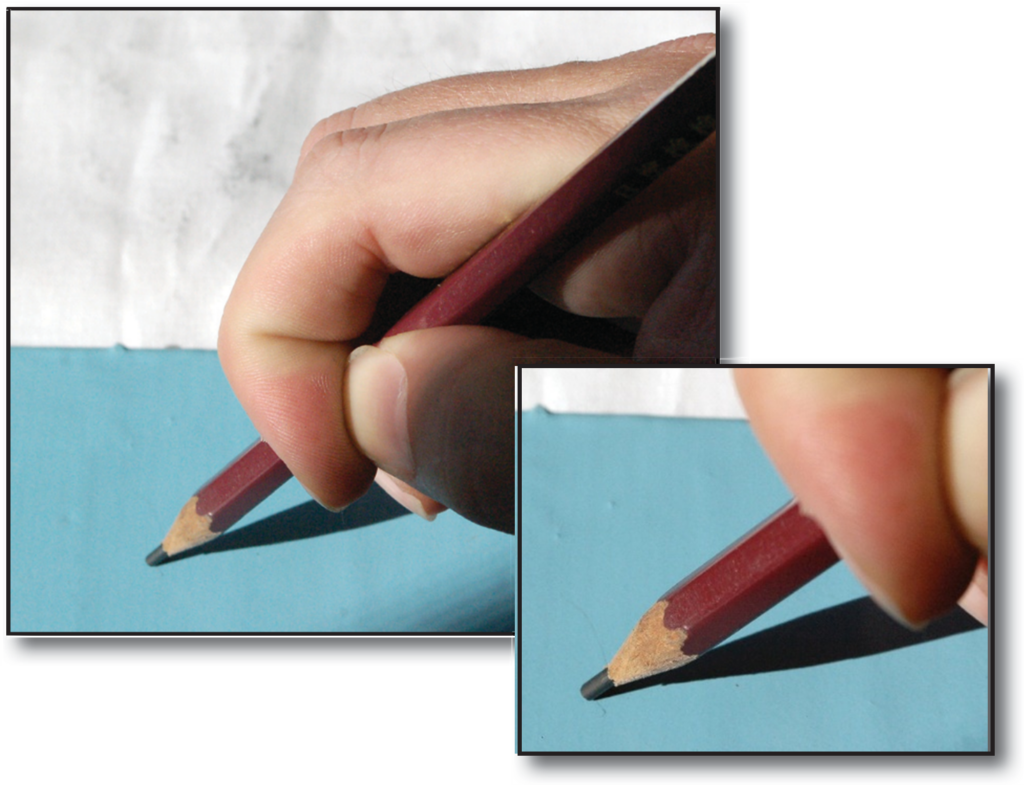
Hold the pencil at a 45° angle to the coated surface and push the edge of the blunted lead “cylinder” across the coating for at least 1/4-inch (Figure 4). The goal is to see if the pencil scratches or gouges the coating. A special holder can be used to maintain the proper angle if needed. (Figure 5).
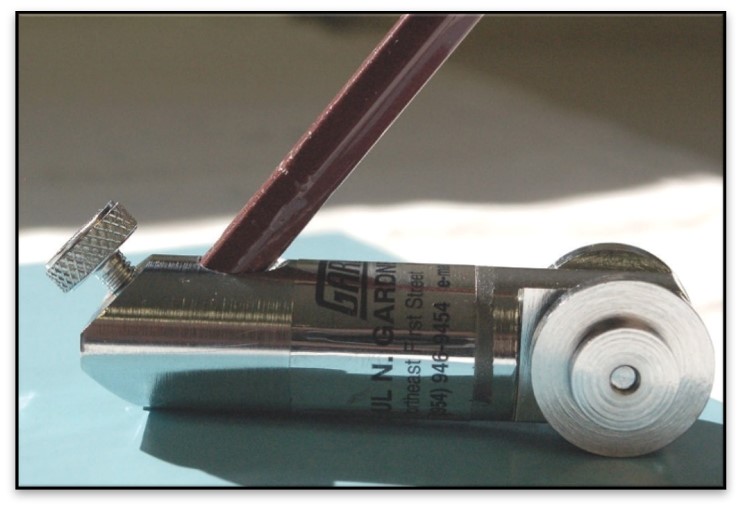
Any time a pencil lead is re-used for testing, the lead will need to be “re-dressed” using the emery cloth or sandpaper to regenerate the cylindrical-shaped end of the lead.
One of three things will happen in the first test:
- The edge of the pencil lead will scratch but not gouge the coating film,
- The edge of the pencil lead will gouge the coating film, indicating the coating is softer than the pencil lead, or
- The edge of the pencil lead will bevel or break, indicating the coating is harder than the pencil lead.
Note that the ASTM standard requires 2 determinations for each pencil lead that is used.
Assessing Scratch Hardness: If the coating is scratched, select a softer lead (by moving to the left on the Pencil Hardness Scale) and re-test the coating film. If the coating is not scratched, select a harder lead (by moving to the right on the Pencil Hardness Scale) and re-test the coating film. The number of the pencil lead that will not scratch the coating film (when one pencil lead harder will scratch the coating) is considered the scratch hardness of the coating.
Example of Scratch Hardness: Pencil 2H scratches the coating film but Pencil H does not. The scratch hardness of the coating is recorded as “H.”
Assessing Gouge Hardness: If the coating is gouged, select a softer lead (by moving to the left on the Pencil Hardness Scale) and re-test the coating film. If the coating is not gouged, select a harder lead (by moving to the right on the Pencil Hardness Scale) and re-test the coating film. The number of the pencil lead that will not gouge the coating film (but one pencil lead harder will gouge the coating) is considered the gouge hardness of the coating.
Example of Gouge Hardness: Pencil 5H gouges the coating film but Pencil 4H does not. The gouge hardness of the coating is recorded as “4H.”
Caution: As stated in ASTM D3363, using leads or pencils made by different manufacturers or from the same manufacturer but different production batches, may result in significant variation for leads within the same pencil hardness scale.
Durometer Hardness
Durometer hardness testing is performed according to the procedure described in ASTM D2240. The standard includes several types of measurement devices (Types A, B, C, D, DO, O, OO, OOO, OOO-S and R); each used for different types and hardness of materials. This forum describes the use of a Shore D Durometer, since many of the thick film, chemically resistant coatings fall into the hardness range that a Shore D durometer can accurately measure. For softer, thick film coating materials, a Shore A Durometer may be more useful since it has a lower spring force. According to the ASTM standard, hardness values obtained using durometers that are less than 20 and greater than 90 are not considered reliable and it suggests not recording them. In fact, the digital durometer described later automatically discards readings less than 20 and greater than 90. While ASTM D2240 is written primarily for laboratory applications, Durometers can be and are used in the field.
A Shore D Durometer is a small hand-held analog device (Figure 7), or an electronic device (Figure 8) with a remote probe that is used to measure the indention hardness of a material. A small cone-shaped indentor protrudes from the pressor foot (the base of the tester or probe). The durometer contains a calibrated spring that is used to apply perpendicular force to the indentor. A cured, hardened coating will provide great resistance to the indentor under the force of the applied load, compared to an uncured, softer coating. This resistance to indention is displayed on the gage dial or digital display as a hardness value.
Verifying the Accuracy of a Durometer
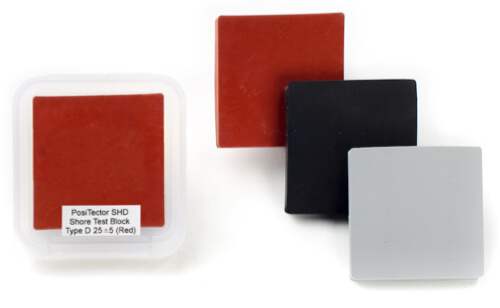
Durometers should be calibrated annually by the manufacturer or an accredited calibration laboratory. As an inspector, you cannot calibrate a durometer, but you need to verify accuracy prior to each period of use. Test blocks are used to verify accuracy. The set shown (Figure 6) represents hardness values of 25, 46 and 75 on the D scale. Obtain a measurement on each test block and compare them to the hardness values on the test block case. If the value displayed by the durometer does not conform to the tolerance of the test block value (for example 25 +/- 5, which means that the displayed hardness value obtained on the test block can range from 20-30), the durometer should not be used to measure the hardness of a coating and should be returned to the manufacturer for repair.
The surface of the coating to be tested should be clean and smooth. Any inherent surface roughness can produce erroneous hardness values. Since temperature and humidity can influence the hardness value, the surface temperature of the coated surface and the relative humidity of the surrounding air should be measured and recorded prior to testing. While the temperature and humidity data are required to be reported by the ASTM standard, there is no correction of the hardness values based on the prevailing ambient conditions.
Measuring Coating Hardness (Analog Durometer)
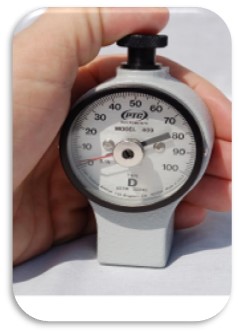
After verifying accuracy using the test blocks and returning the red ancillary pointer to zero, cup the durometer in your hand and apply even, steady vertical pressure (Figure 7) until the base of the instrument seats evenly on the coated surface. The black knob on the top of the instrument does not depress, but rather provides a push point for the operator. The maximum force will be maintained by the red ancillary pointer, even though the black pointer will return to zero once the downward pressure is released. Obtain a minimum of five readings (spaced at least ¼-inch apart), then calculate the average indention hardness and compare the results to the requirements of the project specification or coating manufacturer. The analog-type durometers may be difficult to seat correctly on small diameter pipe. When used on large diameter pipe, the durometer should always be positioned so that measurements are obtained along the length of the pipe and not across it.
Measuring Coating Hardness (Digital Durometer)
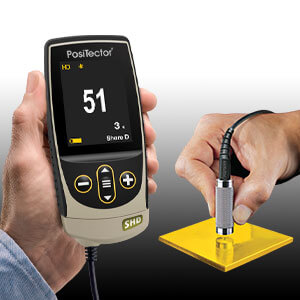
After verifying accuracy using the test blocks, press the remote probe into the coating until the presser foot is in full, flat contact with the surface, and hold it in place (Figure 8). After the durometer emits a single audible signal, it will display a symbol indicating a reading is in the process of being obtained. The test timer will begin counting down. When the timer reaches zero, the durometer will emit a double audible signal and display the measurement value. Remove the probe from the surface and record the value displayed. Obtain a minimum of five readings (spaced at least ¼-inch apart), then calculate the average indention hardness and compare the results to the requirements of the project specification or coating manufacturer. Because of the small diameter of the test foot, its use is more amenable to curved surfaces than the analog instrument; however, the full measuring surface of the probe must sit flush on the surface without rocking to obtain a reliable reading.

Summary
The relative hardness of an applied coating or lining can be quantified using Pencil Hardness (thin film coatings) or Durometers (thick film coatings). Since there is no “industry standard” minimum hardness value, the project specification or coating manufacturer’s product data sheet will need to include the minimum hardness value required prior to placing the system into service.
This issue of the KTA Certified Coating Inspector Forum explored why the hardness of a coating or lining system is important to measure and described the two most common field methods for testing the hardness of an applied coating.


Excellent description of hardness testing instruments: Barcol, Durometer, and Pencil Hardness
Thanks for the feedback!
Thank you for this article. Despite the AMPP Training of CIP 2 students on using Barcol for very thick laminates and the manufacturer not mentioning coating hardness measurement with the Barcol Gauge, we still see specifications or requests for Barcol hardness values for Protective Coatings from AMPP qualified Instructors. This article and the earlier one by Cynthia assit us to steer them to Durometer.
Thanks, Geoff – we’re glad you enjoy our content!