Introduction – Fiber Reinforced Plastic (FRP) surfaces undergo both chemical and physical aging during their useful life. Designers and manufacturers may specify that FRP surfaces be coated as a maintenance strategy to prolong its service life and/or improve its aesthetic qualities. A wide variety of generic coating types can be applied to FRP surfaces. For the coating material to properly adhere to the FRP surfaces and serve its function, the quality of surface preparation and coating application must be assured through in-process inspections during the various phases of the coating work. While the general types of inspections performed are similar to those conducted for the cleaning and painting steel (ferrous) surfaces, there are also some differences for FRP surfaces.
Inspection Process
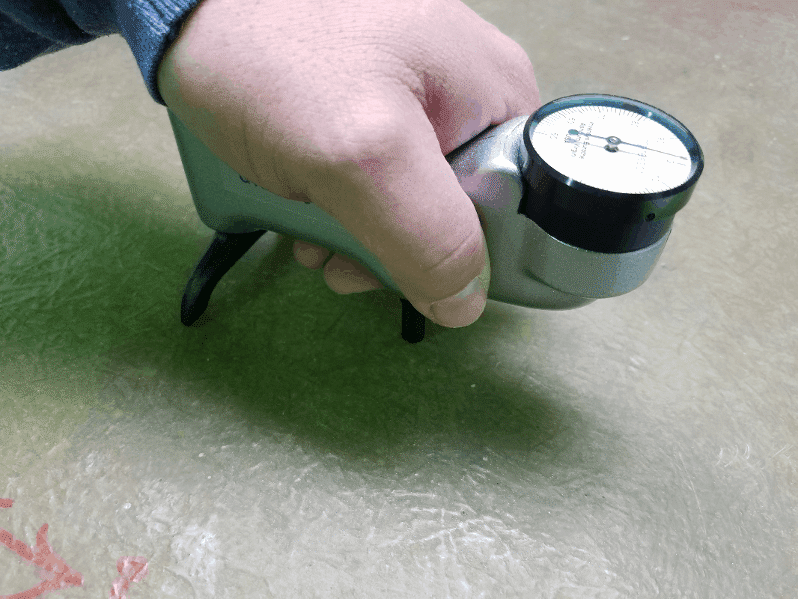
The inspection process for coating work on FRP surfaces is described below. The FRP material must be fully cured prior to the application of coating material. The degree of cure is typically evaluated using the Barcol hardness test in accordance with ASTM D 2583, “Standard Test Method for Indentation Hardness of Rigid Plastics by Means of a Barcol Impressor.” For curved FRP surfaces, the Shore D hardness test may be performed to evaluate degree of cure.
Grease and Oil Removal – Like preparation of most substrates, inspection for the presence of grease, oil, foreign matter, or other deleterious contaminants that may interfere with the bonding of the coating material should occur prior to initiating any type of mechanical surface preparation. Removal methods include solvent cleaning and low pressure washing (up to 5,000 psi maximum) utilizing detergents and various degreasers.
Ambient Conditions – Ambient conditions (surface temperature, air temperature, relative humidity, and dew point) and freedom from surface moisture should be monitored during coating application and curing. The product data sheets for the coatings being applied will provide the limits.
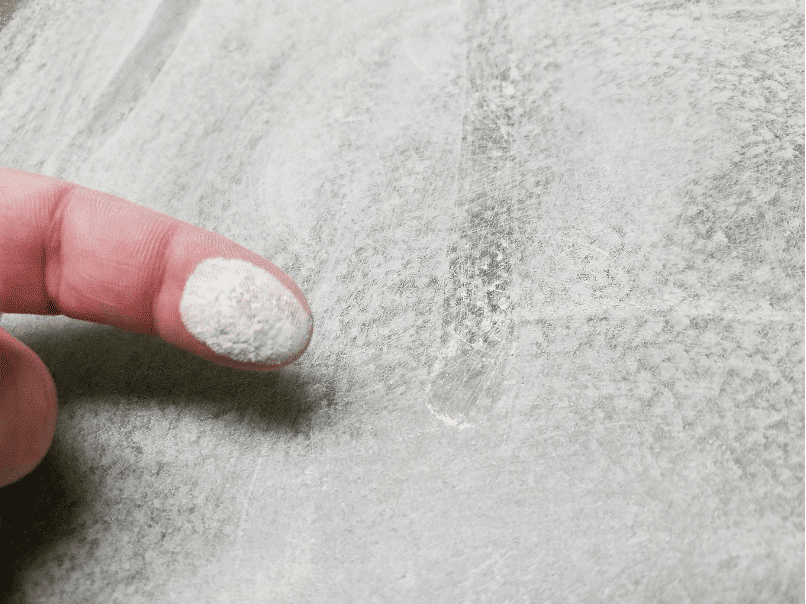
Surface Cleanliness and Surface Roughness– The FRP surfaces prepared for coating should be visually inspected to verify compliance with the requirements of the specification or controlling document. Generally, the FRP surfaces must be clean, dry, dust-free and exhibit no surfaces defects (e.g., chips, cracks, delamination, etc.). The FRP surfaces must also be completely roughened and free of gloss to promote adhesion with the coating material. Mechanical preparation of the surface will generate a significant amount of dust that must be completely removed. It is also important that sufficient lighting be available to assess surface cleanliness and surface roughness.

Coating Mixing – Some coatings involve the mixing of differing quantities or ratios of multiple components, require agitation before and after combining them, have different thinning solvents based on ambient conditions, and may even require a digestion period prior to use. Multiple component coatings also have a useable period for application, or potlife. If the potlife is exceeded, the mixed coating needs to be discarded, otherwise the integrity of the applied coating and the final cleaning of application equipment can be compromised. If plural component equipment is employed (where the components are automatically mixed at or near the gun at the time of use, rather than in a container prior to application), the temperatures of the individual of component temperatures and proper mix ratios must be monitored. The specification may outline the mixing and thinning requirements or refer to the coating manufacturer’s product data sheet for this information.
Coating Application – The coating manufacturer’s product data sheet will also outline the coating application and equipment guidelines. Proper application technique and workmanship will be required for the coating material to adhere and perform. Multiple coats may be required to achieve the desired appearance and any hiding of the FRP substrate.
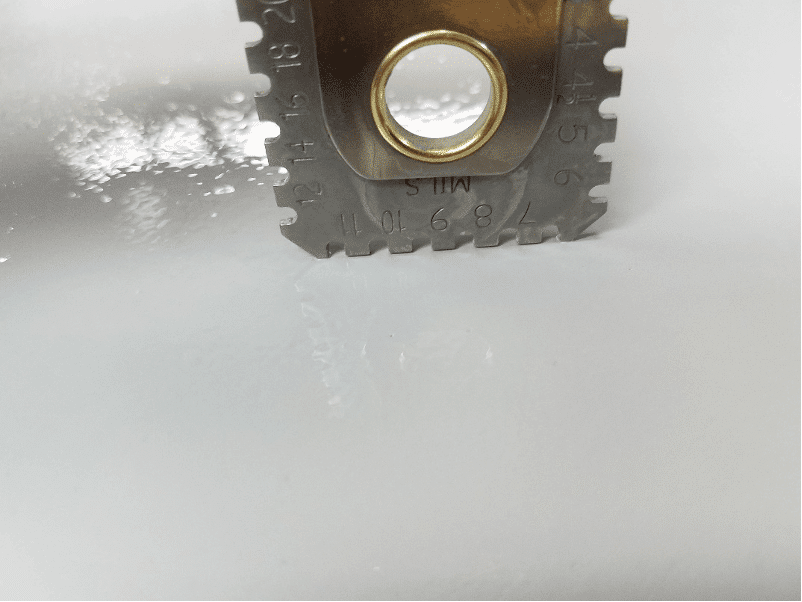
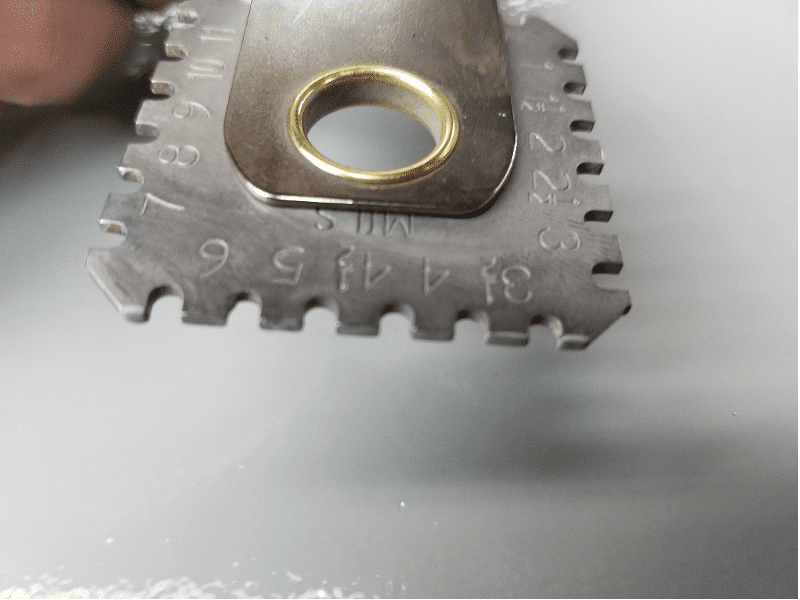
Wet Film Thickness – The wet film thickness should be monitored on a prescribed basis. This is often based on readings per surface area or per each surface geometry. Wet film thickness measurements made during the coating application process will aid in determining whether an adequate amount of coating material is applied to achieve the intended dry film thickness. In-process wet film thickness monitoring performed accurately and regularly can avoid costly rework and delays to correct insufficient or excessive dry film thickness. ASTM D4414 Standard Practice for Measurement of Wet Film Thickness by Notch Gages describes a common instrument for measuring wet film thickness.
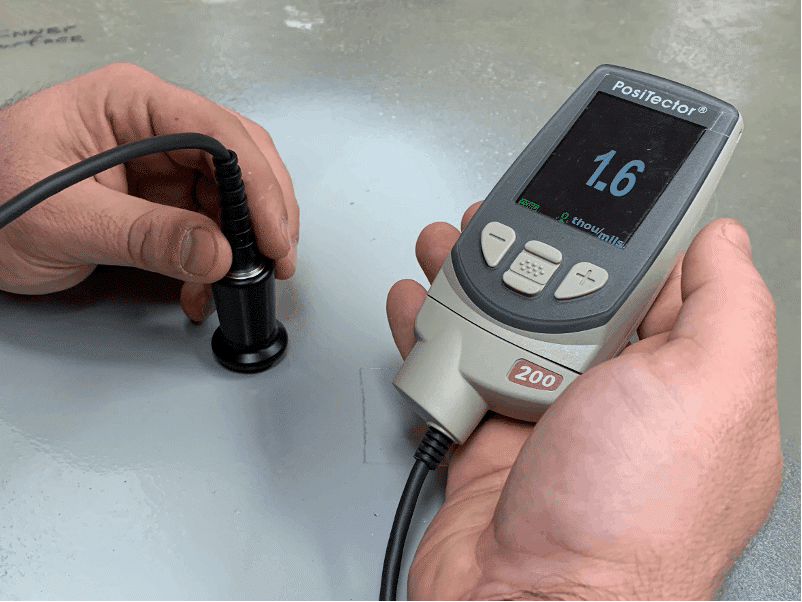
Dry Film Thickness (non-destructive) – The requirement to measure the dry film thickness should be included in the specification. If not, the need to achieve a certain thickness as opposed to only covering the surface will be open to individual interpretation and could become a source of disagreement amongst the involved parties. The frequency, allowable range of spot measurements, and overall interpretation of results are important to understand before taking dry film thickness measurements. SSPC PA-9 Measurement of Dry Coating Thickness Using Ultrasonic Gages provides methods that are suitable for the non-destructive measurement of coating thickness on FRP and other non-metallic substrates, as well as options for determining acceptability. Procedures for calibration, adjustment, and use of the gages are found in ASTM D6132 Standard Test Method for Nondestructive Measurement of Dry Film Thickness of Applied Organic Coatings Using an Ultrasonic Coating Thickness Gage.
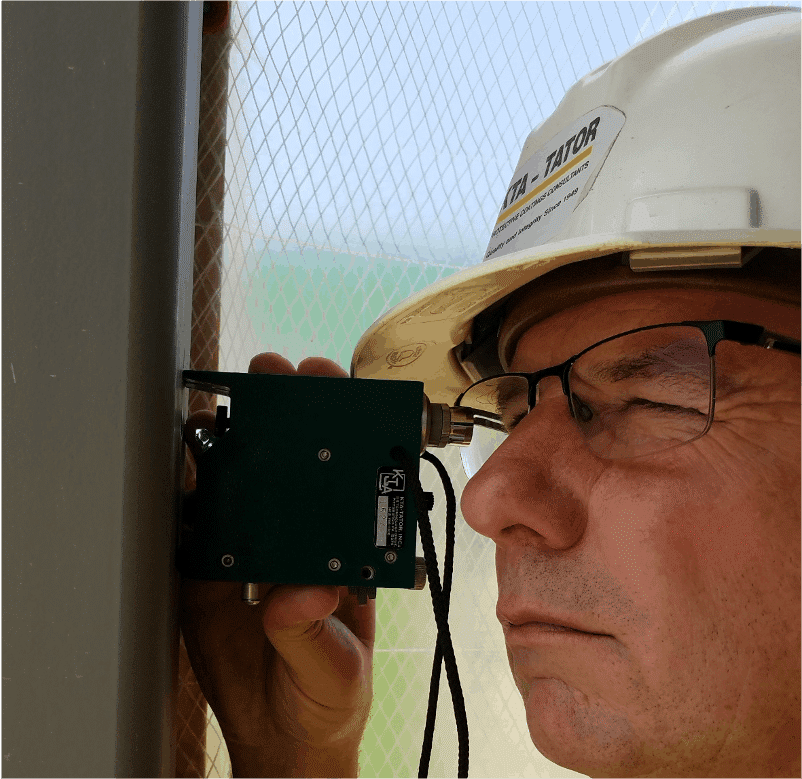
Dry Film Thickness (destructive) – The thickness of the coating can be determined destructively by removing a sample for microscopic measurement in a laboratory, or by using a Tooke Gage. The Tooke Gage is a microscopic measurement technique that requires making a precision incision at a known angle through the coating to the substrate. The incision is made using cutting tips supplied with the instrument. By measuring the width of the incision through the 50X microscope of the instrument, the depth or thickness of the coating can be determined very accurately. The entire measurement process requires a few minutes at each location and the damage to the coating is roughly the width of a pencil line and about 1” in length.
Coating Coverage and Defects – As the dry film thickness measurements are being taken, a close visual inspection for overall appearance and uniformity should be made. Defects that are detrimental should be identified, such as light areas, overly thick areas, sags, runs, pinholes, blisters and other film discontinuities. Repaired areas should be visually reinspected and the coating thickness reconfirmed, if appropriate.
Conclusion – When coating work is performed over FRP surfaces, it is important that the cleaning and application process be carefully monitored to assure that surface preparation is adequate and sound to achieve proper adhesion. As noted, many of the same steps in inspecting the painting of other substrates can be utilized with FRP surfaces. Developing a comprehensive cleaning and coating application plan containing in-process hold-point inspections will result in a finished product that can prolong the service life of the FRP material.
Other topics in this FRP series:
Topic 1 – Inspection of the FRP Fabrication Process
Topic 2 – Surface Preparation and Coatings for FRP
Topic 3 – Inspection of FRP Cleaning and Painting
