Introduction
 Surface profile is defined as a measurement of the maximum peak-to-valley depth generated by abrasive blast cleaning and impact-type power tools. These operations effectively increase the surface area and provide an “anchor” for the applied coating system. The surface profile depth must be compatible with the total coating system thickness; typically, the thicker the coating system, the deeper the surface profile. For example, a 3-coat 15 mil system may require a 2-3 mil surface profile, while a 40-mil coating system may require a 4-5 mil surface profile. The maximum achievable surface profile is generally 6-7 mils (in steel) using a G10 or G12 abrasive.
Abrasive blast cleaned and power tool cleaned steel surfaces are routinely checked to verify the specified surface profile has been achieved. Industry standards such as ASTM D4417, Standard Test Methods for Field Measurement of Surface Profile of Blast Cleaned Steel[1], NACE International SP0287, Standard Practice for Field Measurement of Surface Profile of Abrasive Blast-Cleaned Steel Surfaces Using Replica Tape, and SSPC: The Society for Protective Coatings PA 17, Procedure for Determining Conformance to Steel Profile/Surface Roughness/Peak Count Requirements describe the procedures for performing these measurements, as well as the recommended frequency of measurements and acceptability of the values. However, the standards assume smooth steel was prepared; little is written about measurement of surface profile on rough or irregular surfaces such as pitted steel[2], weathering steel, or cast iron surfaces. This brief article describes a few methods that may be considered for measuring surface profile on these types of irregular surfaces.
Background
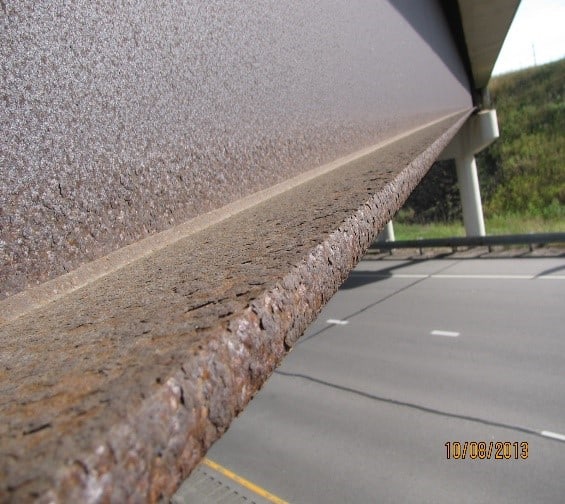
Many steel structures that have been in service for relatively long periods of time may have irregular rough surfaces due to corrosion. Often this results in steel thickness loss (section loss), and may even require modification or replacement. But when it is determined that not enough metal loss has occurred to warrant repairs to the steel substrate, the applicator is faced with complying with contract requirements for cleanliness and profile generation on surfaces that have a roughness that often exceeds the surface profile requirements of the contract.  Likewise, other steel surfaces such as cast iron and weathering steel (ASTM A588, A242, A606-4, A847, and A709-50W) typically have a rougher surface than abrasive blast cleaned ASTM A36 steel after they have weathered from atmospheric conditions, and may result in a higher surface profile yield than the specification allows and an ensuing nonconformance.
Measuring surface profile on rough or pitted surfaces can often lead to false high readings, since the measurements are indicative of the depth of the pits or the inherent roughness of the steel versus the surface profile generated by the abrasive or impact-type power tool itself. This begs the question, “how do you verify the surface profile on these types of surfaces with any degree of accuracy?” There are a few alternatives that can be considered; however, they should be discussed, and an approach negotiated during the preconstruction meeting rather than during in-process measurement, when possible.
Alternative Methods
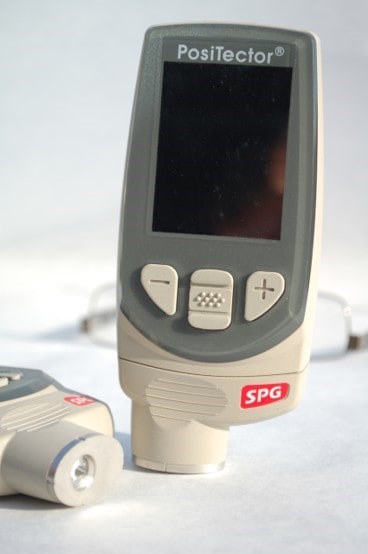
 The first alternative is to obtain measurements in an adjacent area (that is not rough) using whichever method has been selected/specified (depth micrometer or replica tape). However, this may not be feasible when the pitting or rough steel is uniform. Of the three methods listed in the referenced standards, the depth micrometer (Method B in ASTM D4417) is generally considered optimum in these situations because a measurement of a single valley can be obtained, and the upper range of the instrument is higher (20 mils) than the maximum value that can be reasonably measured using replica tape (5 mils). Multiple measurements (a minimum of ten) are made in an area and the average surface profile is calculated[3].
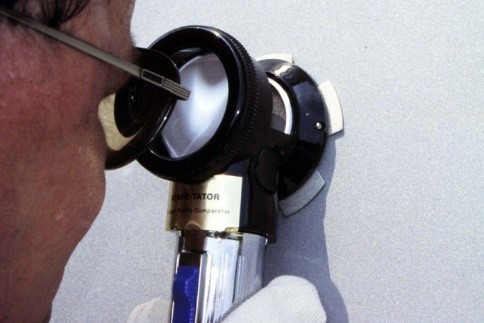
 Another option is to rely on a visual comparator and a reference disc. The comparator is a lighted magnifier (typically 5-10x power) that enables the user to closely examine the surface roughness and compare it to replica discs containing varying degrees of roughness (5 segments per disc). The appropriate reference disc that represents the abrasive employed (grit/slag or shot) is placed on the prepared steel and the user selects the segment that most closely matches the surface profile of the steel.
A third option is to measure the surface profile on a companion piece of steel such as a test plate that is abrasive blast cleaned with the same abrasive and pressure being used on the rough steel. This procedure has been accepted in the nuclear power industry for many years when painting cast iron motor housings.
Lastly, the abrasive manufacturer can be consulted regarding the typical surface profile values produced by the type and size abrasive being used. Some abrasive manufacturers can provide a Certificate of Conformance that states the measured range for a given lot under laboratory conditions. Note that surface hardness greatly influences surface profile depth, so the abrasive manufacturer’s data may be misleading.
Conclusion
The important point to remember is that when the surface is rough or irregular, one or more of these methods can be used to more accurately determine the surface profile depth. Further, rough surfaces may require the application of a thicker coat, or additional coating layers to help ensure corrosion protection. The coating manufacturer should be engaged when making these decisions.
[1] According to SSPC-SP 11 and SP 15, verification of minimum 1-mil surface profile created by power tools can only be measured using Method B (depth micrometer) described in the ASTM D4417 standard.
[2] SSPC-PA 17-2012 addresses measurement of surface profile on pitted steel in Appendix C (Section C2.5.3)
[3] ASTM D4417 instructs the operator to report the maximum of the ten measurements; however, this is not recommended on rough/pitted surfaces. The standard does allow averaging of the readings.


